Teknik Veriler
| Walker 14er M/L | |
|---|---|
| Min. yükseklik: | 81 cm |
| Maksimum yükseklik: | 100 cm |
| Genişlik: | 69 cm |
| Uzunluk: | 85 cm |
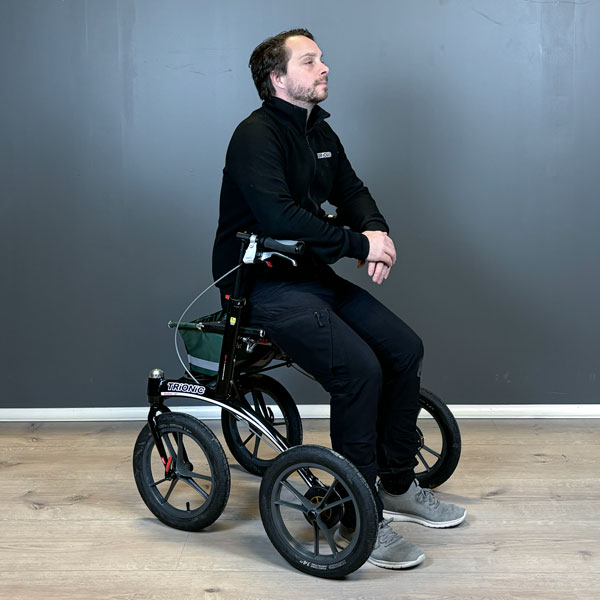
| Oturma yüksekliği: | 62 cm |
| Koltuk genişliği: | 46 cm |
| Tekerlek boyutu: | 14"/36 cm |
| Katlanmış haldeki boyut Y x U x G | 85 x 28 x 90 cm (U x G x Y) |
| Tekerleksiz katlanmış halde boyut Y x U x G: | 67 x 28x 76 cm (U x G x Y) |
| Ağırlık: | 9,9 kg |
| Tekerleksiz ağırlık: | 6,6 kg |
| Maksimum kullanıcı ağırlığı: | 150 kg |


 Trionic Walker, normal aşınmaya maruz kalan parçalar (lastikler, iç lastikler, fren balataları, fren kabloları, fren kablosu yuvaları, tutma yerleri ve tekstil parçaları) hariç olmak üzere 10 yıllık bir garantiye sahiptir. Garanti, satın alma tarihinden itibaren geçerlidir ve yalnızca Trionic orijinal parçalarını kapsar.
 CE – Trionic Sverige AB, bu Sınıf I Tıbbi Cihazın AB yönetmeliği MDR 2017/745 gerekliliklerini karşıladığını ve ISO 11199-2:2021 sertifikasına sahip olduğunu garanti eder.
 Trionic Sverige AB, Repak Ltd Ireland ve İngiltere'deki Valpak Limited'in bir üyesidir ve 20 Aralık 1994 tarihli Ambalaj ve Ambalaj Atığı ile ilgili Avrupa Direktifini tam olarak uygulamaktadır.