Благодарим вас за выбор светодиодного переднего фонаря Trionic мощностью 1600 люмен с аккумулятором.
В этом руководстве показано, как прикрепить держатель фонаря и фонарь к Walker (левая колонка ниже), а также как прикрепить их к Veloped (правая колонка ниже).
На левом фото A показаны детали крепления держателя для Walker (2 винта + 2 шайбы). B показаны детали крепления держателя для Veloped (1 винт + 1 рифленая гайка + 1 гайка).
Крепление держателя лампы
Инструкции для ходунков
A1. Наверху черной полувертикальной трубки найдите два винта, которые крепят трубку рукоятки, расположенную перед рычагом тормоза.
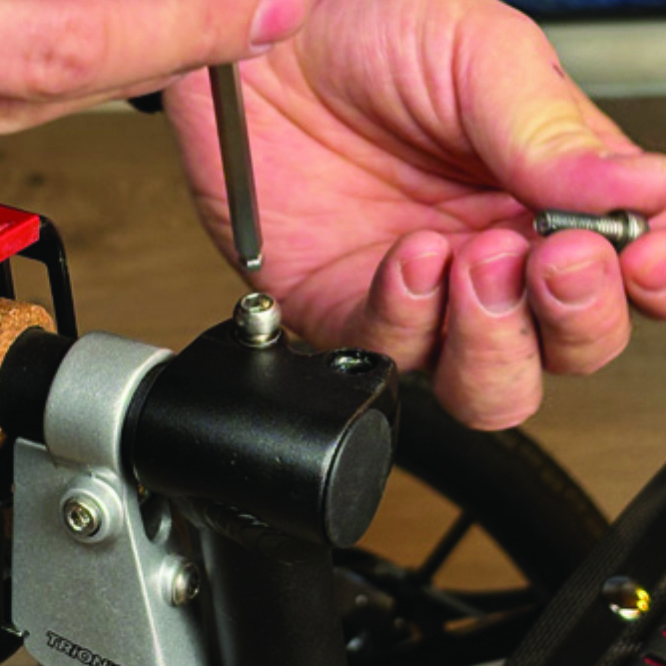
A2. Ослабьте оба винта с помощью 5-миллиметрового шестигранного ключа, входящего в комплект светодиодного светильника.
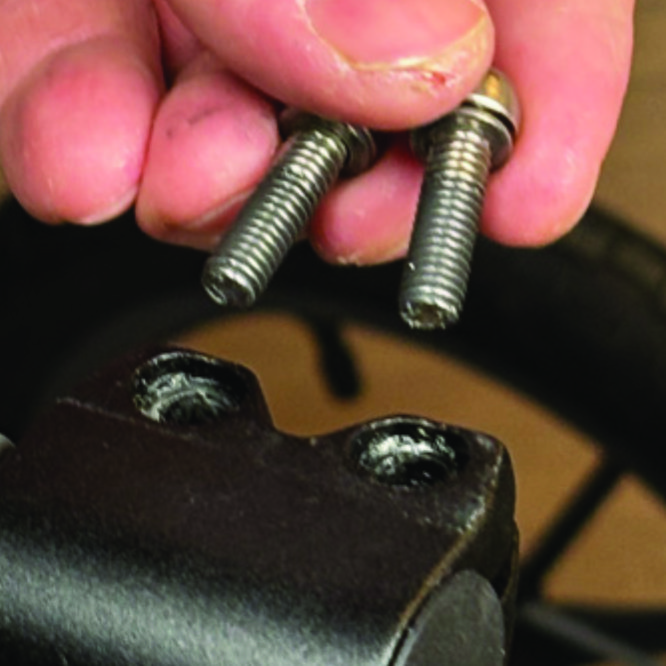
A3. Выкрутите два винта из зажима рукоятки.
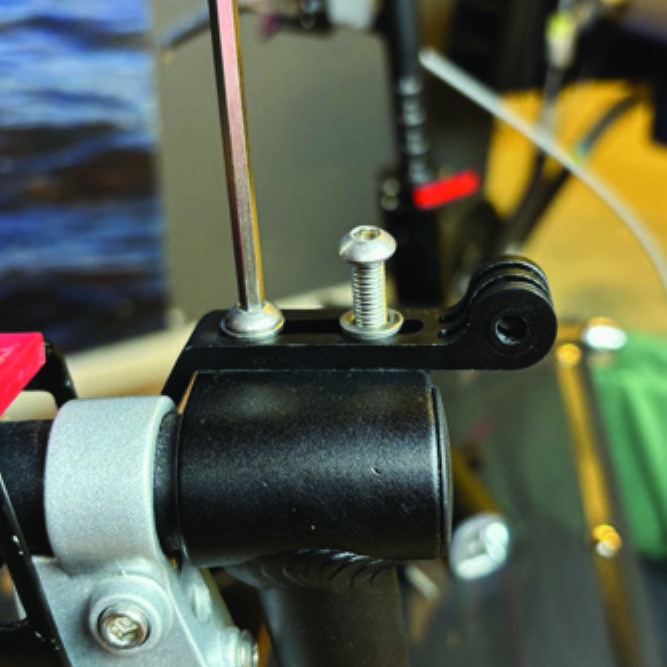
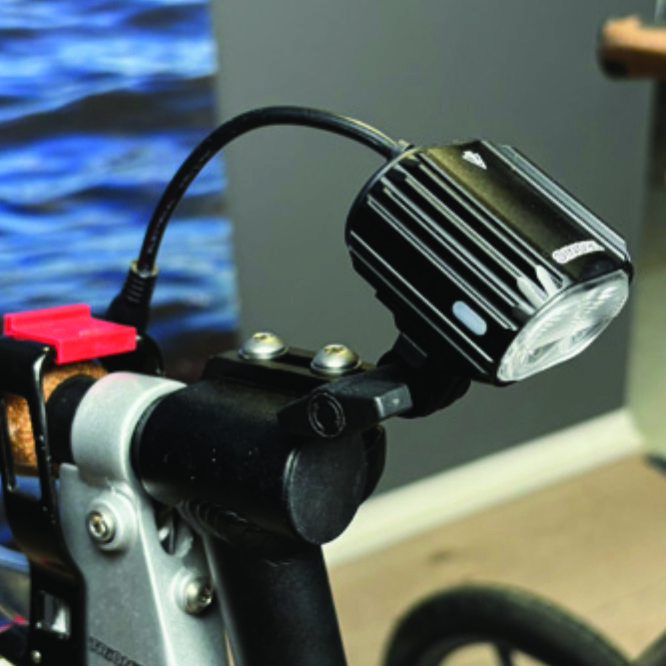
A4. Поместите держатель света на верхнюю часть зажима, чтобы его круглое и щелевое крепление света было направлено вперед и вверх. Вставьте два винта с шайбами в отверстия зажима.
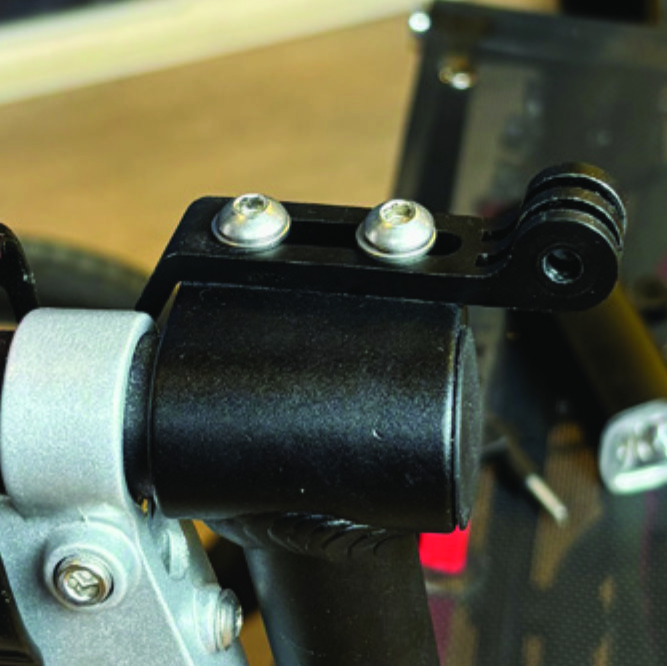
A5. Затяните два винта шестигранным ключом на 5 мм. ПРИМЕЧАНИЕ: Важно затянуть винты правильно, так как они фиксируют трубку рукоятки с ее резиновой рукояткой и рычагом тормоза.
Инструкции для Veloped
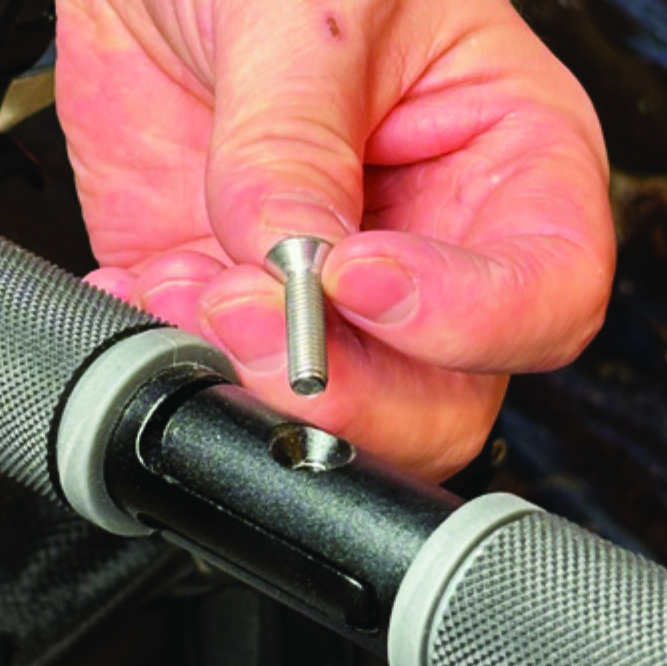
B1. Найдите винт в центральной складной петле U-образной рукоятки Veloped. Открутите винт с помощью прилагаемого шестигранного ключа на 4 мм и снимите его.
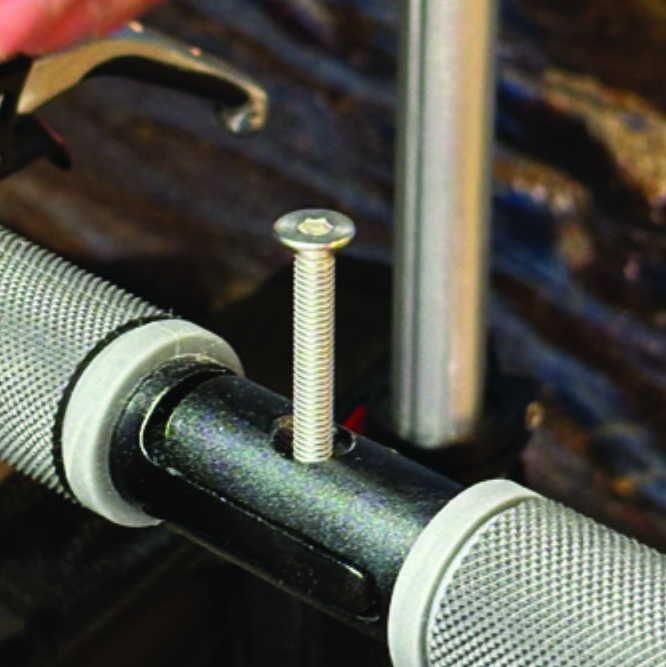
B2. Замените старый винт на более длинный винт, входящий в комплект светодиодной лампы. Прикрепите более длинный винт к петле и затяните его шестигранным ключом на 4 мм.
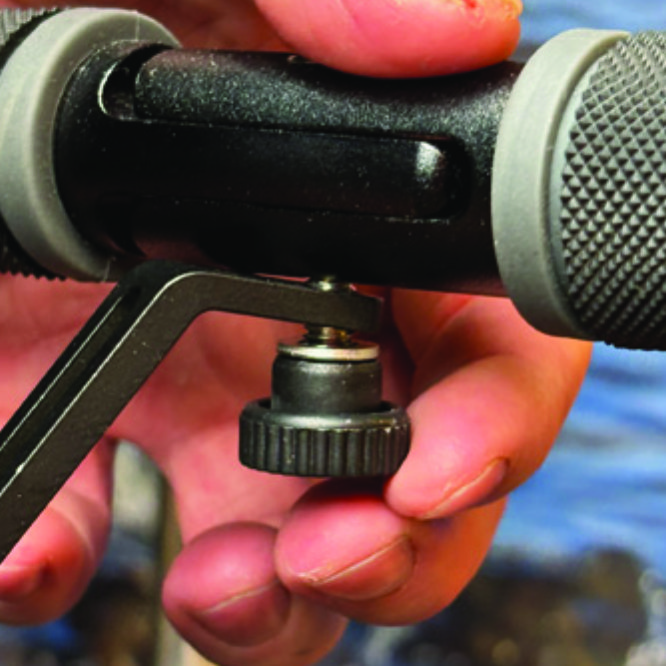
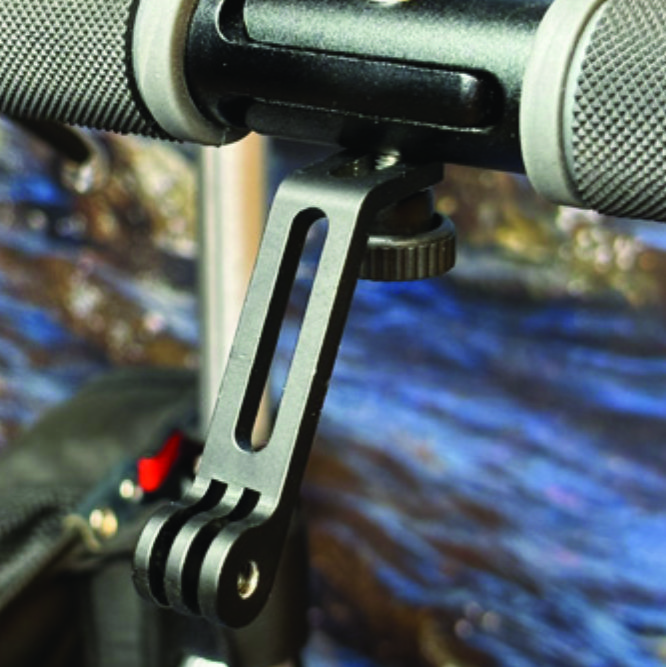
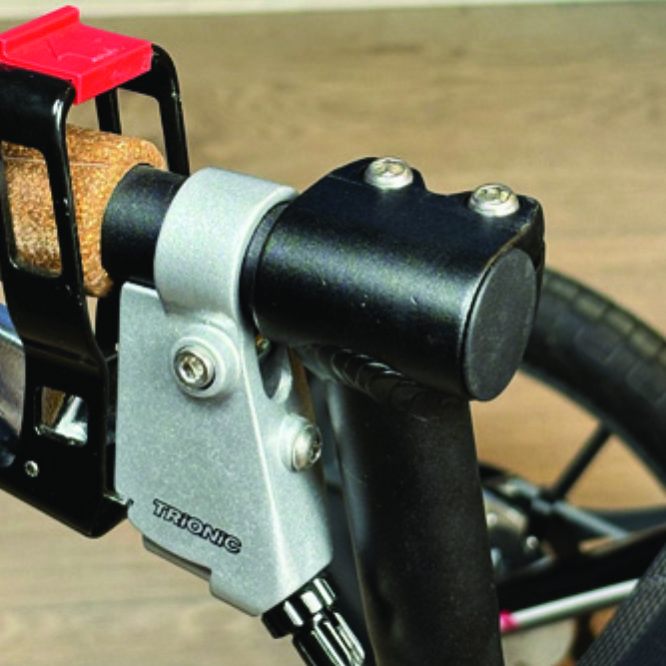
B3. Прикрепите короткий угловой конец держателя света к нижнему концу винта, на нижней стороне U-образной рукоятки. Держатель должен быть направлен вниз. Закрепите держатель одной шайбой и рифленой гайкой, которую вы затягиваете пальцами.

B4. Для более надежного крепления держателя, исключающего его непреднамеренный поворот вбок, замените рифленую гайку на входящую в комплект гайку из нержавеющей стали и затяните ее гаечным ключом на 10 мм.

B5. На этой фотографии держатель лампы установлен правильно.